







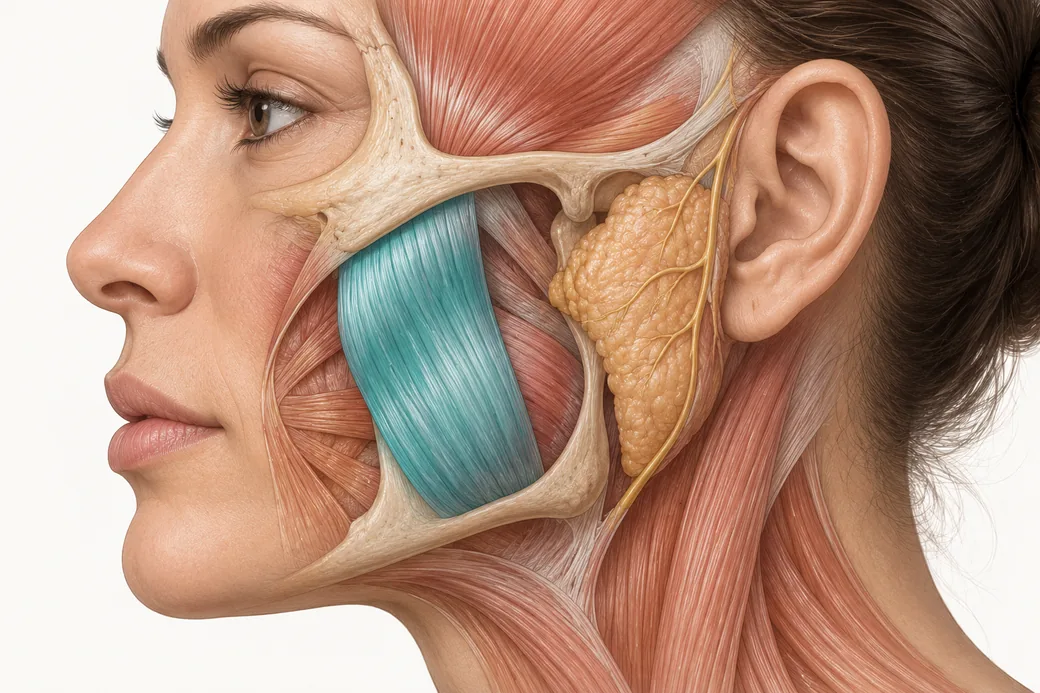
The bizygomatic to bigonial ratio is the measurement that turns "I think my face is too wide" into a clinical finding you can act on. Most masseter consultations are conducted entirely on impression — the injector looks at the patient, agrees the lower face looks heavy, and injects. That works often enough to feel adequate and fails in exactly the cases that matter: the patient whose width is skeletal, the patient whose asymmetry you did not document, and the patient who returns at month six convinced nothing happened because neither of you recorded what "before" looked like.
I always say go back to your anatomy. For the lower face, that starts with two horizontal distances and a hand on the muscle.
The two measurements
Bizygomatic width is the transverse distance between the most lateral points of the zygomatic arches — the widest point of the midface. In anthropometric terms these are the zygion landmarks.
Bigonial width is the transverse distance between the gonial points, the angles of the mandible, bilaterally. This is the width of the lower third of the face and it is the dimension you are proposing to change.
Take both at rest, with the patient seated upright, Frankfort horizontal, looking straight ahead. Photograph them at rest first, before any animation. You are comparing the lower-face dimension against the midface dimension in the same patient, in the same head position, on the same day.
What you are looking for is the relationship, not an absolute number:
- In a face read as feminine with a tapered, heart-shaped contour, the bigonial distance is meaningfully shorter than the bizygomatic distance. The face is wider at the cheekbones than at the jaw.
- In a typical male face those two distances sit much closer together, and a square lower face is often within normal male proportion rather than a deformity.
- The patients who present asking to narrow the lower face are the ones whose bigonial width approaches or exceeds their bizygomatic width when they did not expect it to — most often female patients seeking that tapered appearance.
Bigonial width is also the endpoint the literature uses. A review of twenty masseter neurotoxin studies is framed explicitly around bigonial width reduction, with thickness reductions of roughly 22–31% reported at three months and doses clustering at 20–40 units per side (Ghatge et al., Bioinformation, 2023). Measuring the dimension you intend to change is not an academic exercise; it is the only way to know whether you changed it.
These figures reflect Dr. Croley's clinical practice as taught in Empire Medical Training's hands-on curriculum. Technique is learned under supervision; this article is educational and is not a substitute for training.
A caution about normative thresholds
You will find specific ratio targets quoted widely — that bigonial width "should" be some fixed percentage of bizygomatic width, or that a particular decimal ratio defines an attractive face. Be careful with those numbers. Facial proportion norms vary substantially by ancestry, sex and the measurement convention used, published anthropometric datasets do not agree on a single threshold, and a great deal of what circulates online as a normative ratio has no peer-reviewed basis at all.
The defensible clinical use of this assessment is relative and within-patient: compare this patient's lower-face width against their own midface width, compare their left side against their right, and compare their month-six photograph against their baseline photograph. Do not tell a patient their ratio is abnormal. Tell them what their proportions are and what changing the lower dimension would and would not do.
The clench-release-palpate examination
The ratio tells you the shape of the problem. Palpation tells you whether the masseter is causing it.
Assess at rest first. Observe the lower-face contour, the position and definition of the mandibular border, the antegonial notch, and the presence of any existing jowl or submental fullness. Note asymmetry now, before you introduce movement.
Then have the patient clench. Place your fingertips over the body of the masseter bilaterally — simultaneously, so you are comparing sides in the same instant — and have them clench, release, clench, release while you palpate. Watch the muscle function while you feel it.
This sequence gives you four things a static photograph cannot:
- Bulk on contraction. How much muscle actually recruits? A masseter that feels thin and soft on maximal clench is not the source of the patient's lower-face width, whatever the resting photograph suggests.
- The muscle's footprint. Palpating a contracting masseter is how you establish its anterior and posterior borders and where its bulk sits — which is where the treatment goes, and which is the basis of the safe-zone marking.
- Asymmetry of function. One masseter is frequently bulkier than the other, and a patient who chews predominantly on one side may have a real side-to-side difference in both muscle mass and mandibular contour. Dose asymmetrically for asymmetric muscles; the alternative is treating symmetrically and preserving the asymmetry the patient came in about.
- Discrimination from non-muscular causes. A mass that does not change consistency between clench and release is not masseter. That single observation is the beginning of the differential — parotid pathology, mandibular bony prominence, lipoma and other lesions all sit in this region and none of them contract. Any firm, fixed, nodular, unilateral, rapidly enlarging or painful swelling in this area needs a diagnosis, not neurotoxin.
Combine the two findings. True masseter hypertrophy in a slimming candidate looks like a bigonial width approaching the bizygomatic width, with bilaterally bulky masseters that recruit hard and palpably on clench, and a resting contour that softens as the muscle relaxes. Any other combination should slow you down.
What the candidate profile actually is
The patients who reliably do well are the ones who satisfy several of these together:
- Visible hypertrophy. A genuinely large, prominent masseter that you can see and feel.
- Lower-face width broader than expected relative to the midface, in a patient who wants it narrowed.
- Teeth grinding or jaw pain that is worse at night. Many slimming candidates are also bruxers, and treating both indications in one patient is common. The management of bruxism and botox for jaw clenching material covers the therapeutic side of that overlap.
- Realistic expectations about time. This is the main thing I can say: set the expectation. The result takes months and requires repeated treatments.
- Good skin quality, or a plan for the skin. The masseter is structural bulk. Shrinking it in a patient who already carries lower-face heaviness, jowl or laxity risks making the contour worse rather than better, and is a reason to pause, reframe or redirect. Our material on facial volume loss sits adjacent to that conversation.
The reality is that most patients arrive with a reasonable understanding of masseter hypertrophy and we rarely see them with a frankly wrong diagnosis. What they consistently do not understand is the process — they expect the jawline to behave like the forehead, treated today and visibly different next week. The assessment visit is where you correct that, and doing it with measurements in hand is far more persuasive than doing it with adjectives.
Recording it: masseter-specific photography
Photograph every patient you treat, and photograph this one more carefully than most, because you are asking them to believe in a change they will not see for months.
For the masseter I use five standardised views — straight on, oblique from the left and right, and 90-degree profile from the left and right — captured at baseline and repeated at each reassessment with the same camera, distance, lens, lighting and head position. If the head position moves between sessions, the comparison is worthless.
The addition that matters specifically for this muscle is animation documentation. Have the patient clench while you capture, so you have a record of the muscle under contraction and not only at rest. Most practices can also capture short video through their EMR or HIPAA-secure clinical photography storage, and for masseter hypertrophy and movement a few seconds of clench-release video is more informative than any still. The point of all of it is to sit down with the patient months later and decide, from evidence rather than memory, when to retreat and whether the plan is working.
The general standards for clinical photography — consent, storage, backgrounds, standardisation and medico-legal documentation — are covered in Empire's dedicated clinical photography resource. What is specific to the masseter is the animation view and the discipline of repeating it at three and six months.
Turning the assessment into a plan
The assessment produces four decisions before you draw a single mark:
- Indication. Slimming, bruxism, or both — because they run on different timelines and are judged against different endpoints.
- Candidacy. Is the width muscular, and is this patient's skin going to tolerate losing the bulk underneath it?
- Symmetry and dose distribution. Which side is bulkier, by how much, and does that change your dose or your injection-point placement?
- Schedule. Baseline photography today, retreatment at approximately three months, formal reassessment at approximately six months.
None of this requires equipment you do not already own. It requires a tape or caliper, two hands, a camera on a fixed setup, and the discipline to do it in the same order every time. The injectors who produce reproducible lower-face results are, almost without exception, the ones who measure.
Structured facial assessment and masseter marking are taught hands-on in Empire's Anatomical Based Aesthetics Training and Advanced Botulinum Toxin & Filler Training. For a broader look at how injectors document facial mapping, see our botox face chart.
About the author
Dr. Chris Croley — Chief Medical Officer, Empire Medical Training. The clinical approach described here is what he teaches in Empire's hands-on neurotoxin curriculum.
Related guides in this cluster
Part of Facial Muscle Anatomy for Neurotoxin.
 Clinical GuideMost Neurotoxin Complications Are Diffusion, Not Misplacement — Rethinking Root CauseMost neurotoxin complications come from diffusion into an adjacent muscle, not from injecting the wrong site. Here is how to tell which
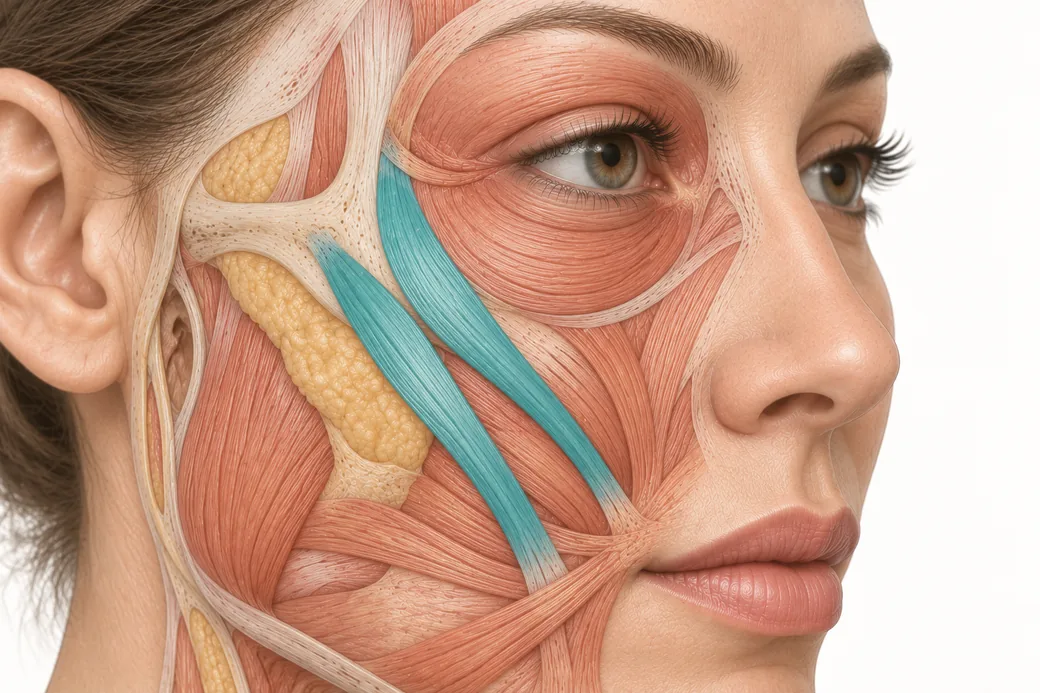 Clinical GuideThe Crow's Feet Trap — How Chasing Lateral Cheek Lines Reaches the ZygomaticusA zygomaticus botox complication after crow's feet treatment has one usual cause — chasing lateral cheek lines too low and too deep. Th
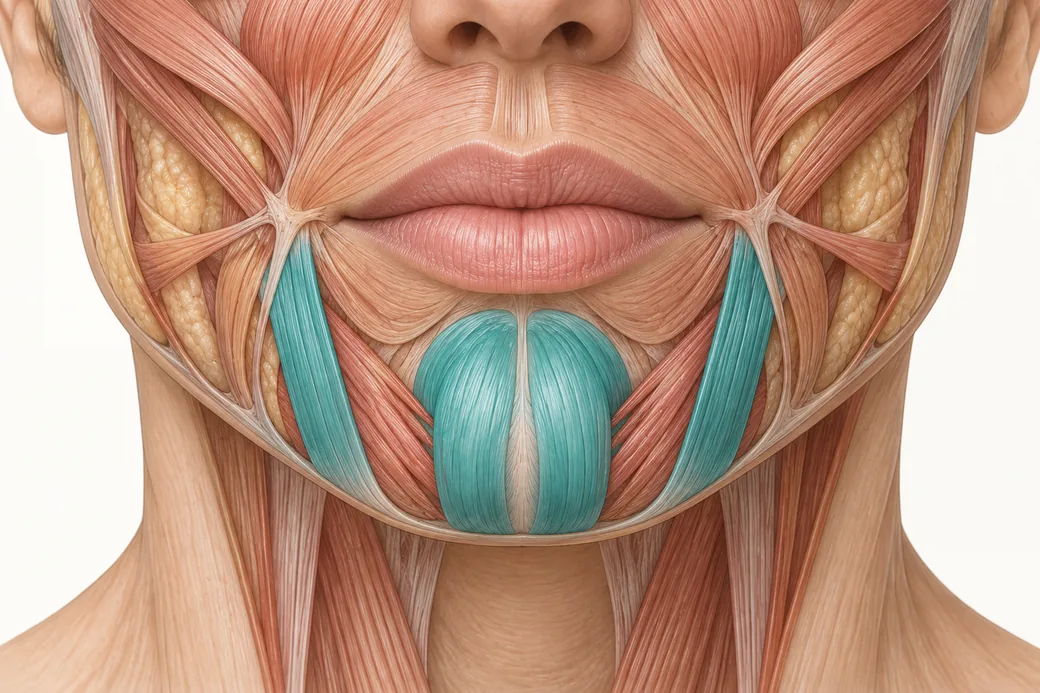 Clinical GuideDepressor Anguli Oris, DLI and Mentalis — Three Overlapping Muscles, Millimetres ApartDepressor anguli oris anatomy is a depth problem, not a map problem. The DAO, DLI and mentalis overlap in layers, and confusing them al
Train with Empire
This guide is clinical education. The technique behind it is taught hands-on, on live patients, with faculty beside you.
Explore Botox Training & Certification →Disclaimer
This article reflects the clinical opinions and experience of Dr. Chris Croley, Chief Medical Officer, Empire Medical Training, an independent faculty member contributing to Empire Medical Training's curriculum. The views expressed are the author's own and do not necessarily represent those of Empire Medical Training.
It is professional education, not medical advice, and is no substitute for hands-on training or independent clinical judgment. Licensed clinicians remain responsible for their own patient selection, technique and outcomes, for verifying current product labelling, and for practising within their scope and applicable law. Empire Medical Training accepts no liability for reliance on this content.
 Claim Your Prize!