







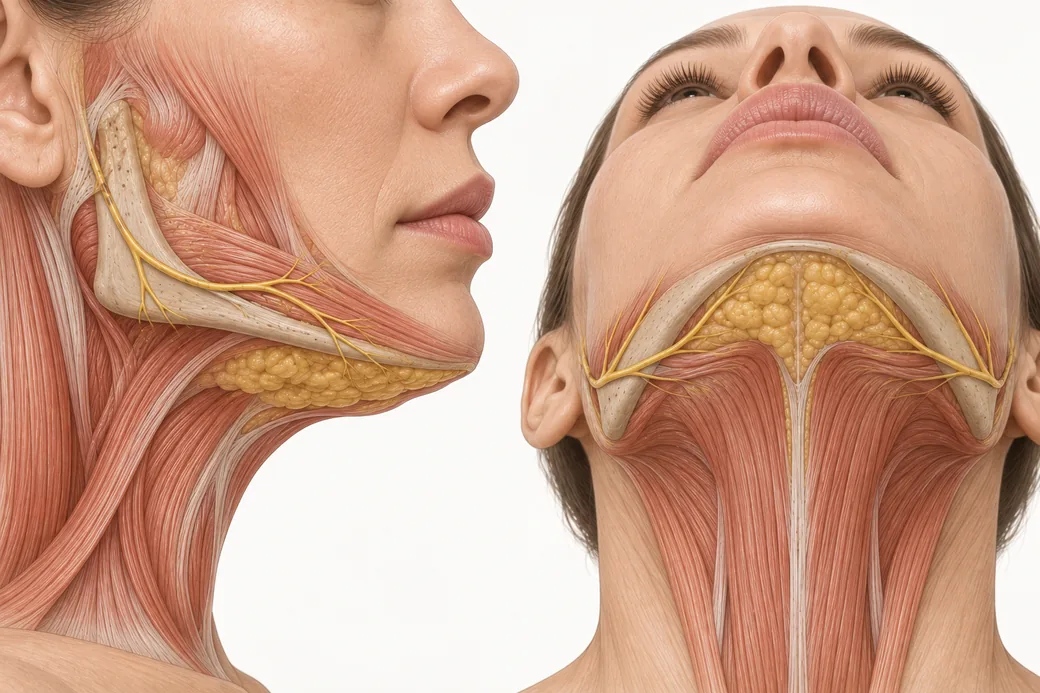
Injectors search for Kybella dosing hoping for a number — a millilitre figure per patient, a vial count per chin, something to write on an index card. There isn't one, and the reason there isn't one is the most useful thing to understand about this drug. Don't memorise doses. Everybody needs a different amount, because the dose is not a property of the patient. It is a property of the compartment you found.
This is a calculation, not a recall task. Once you see why, the same logic starts to apply to a lot of other things you thought were chart items.
Maritza Mejia, FNP — family nurse practitioner; faculty member, Empire Medical Training; founder of Long Island Beauty Bar, New York.
The dose on the label is a density
Read the labelled dosing carefully and notice the units:
- Drug supplied at 10 mg/mL, in 2 mL single-patient-use vials — 20 mg per vial.
- 0.2 mL per injection site.
- Injection sites 1 cm apart.
- Maximum 50 injections (10 mL) in a single treatment.
- Up to 6 treatments at intervals of no less than one month.
- Expressed as an area-adjusted dose of 2 mg/cm².
Now do the arithmetic that most injectors never do. 0.2 mL at 10 mg/mL is 2 mg of drug. One injection site serves the 1 cm × 1 cm square of tissue around it. Two milligrams per square centimetre.
The three numbers are the same number. "0.2 mL per site," "1 cm spacing" and "2 mg/cm²" are not three separate rules to remember — they are one rule expressed three ways. The volume per site and the spacing exist to deliver the density. Change the spacing without changing the volume and you have changed the dose, whatever the injection log says.
That is why there is no per-patient number. The label does not tell you how much drug to give a patient because it cannot know how many square centimetres of treatable fat that patient has. It tells you the density, and you supply the area.
The formula, such as it is
Treatment volume = (treatable area in cm²) × 0.2 mL
or equivalently, one injection per square centimetre of mapped, palpation-confirmed, danger-zone-excluded fat, up to 50 injections and 10 mL in a session.
Everything difficult about dosing this drug is contained in the phrase "treatable area." Not the area of the patient's neck. Not the area of the fullness they point at. The area of supraplatysmal fat that survived the exclusions.
The histology agrees: concentration is the variable that matters
This is not merely a regulatory convention. A Phase 1 open-label study injected deoxycholic acid into abdominal fat at varying concentrations (0.5%, 1.0%, 2.0%, 4.0%), volumes (0.2 or 0.4 mL) and spacings (0.7, 1.0, 1.5 cm) before scheduled abdominoplasty, then examined the excised tissue (Walker et al., Dermatologic Surgery, 2020; PMID 30883481).
The finding: histological changes were more prominent at higher concentrations and independent of volume and spacing, and were confined to the subcutaneous layer across every paradigm.
Within the range tested, the tissue responded to how concentrated the solution reaching it was — not to how much went into each individual hole or how far apart the holes were. The mechanism explains why. Deoxycholic acid is a cytolytic detergent that physically destroys cell membranes on contact; what determines the effect is how much drug meets how much adipocyte membrane per unit of tissue. That is a density relationship by construction.
The grid: what it does and what it does not do
The label instructs outlining the planned treatment area with a surgical pen and applying a 1 cm injection grid to mark the sites. Product is commonly supplied with a grid transfer for exactly this.
The technique I teach: wet the skin lightly, apply the grid, tap it down, and lift — it leaves an even pattern of marks across the field like a template. If you do not have a grid, mark the areas you will not inject first, then draw your own points roughly a centimetre apart within what remains.
Here is the part that matters, and it is the point of this entire article: the grid is a spacing device, not an assessment.
A grid does four things well. It enforces 1 cm spacing, so the density is right. It stops you clustering injections and creating a locally excessive dose. It makes the injection count auditable, so your documented volume matches what went in. And it makes the treatment reproducible across sessions and across operators.
A grid cannot do any of the following. It cannot tell you where fat ends. It cannot tell you that one of its squares sits over a submandibular gland. It cannot tell you that the tissue under a mark thinned out since the last session. It cannot see the marginal mandibular nerve.
A grid mark is a permission to inject only if palpation says there is fat under it. Every grid point is a question, not an instruction.
There is a documentation consequence too. Because the volume is derived rather than chosen, your note can show its working: treatable area in square centimetres, exclusions applied, number of grid squares confirmed by palpation, injections placed, total volume. A record in that form defends the dose you gave far better than a bare millilitre figure, and it gives the next session a baseline to measure the shrinking compartment against.
The order of operations
This is the sequence, and the order is not negotiable.
1. Assess. The four-position examination and the pinch. Confirm there is pinchable supraplatysmal fat and that it, rather than laxity, band or gland, is the dominant contributor.
2. Mark the exclusions first. Before any treatment area is drawn: - The inferior border of the mandible. - The 1–1.5 cm line below it, from the angle of the mandible to the mentum — the marginal mandibular nerve exclusion zone. - A 1–1.5 cm clearance around anything palpation identified as salivary gland, lymph node or muscle. - Any scar or altered landmark from prior surgical or aesthetic treatment.
3. Outline the treatment area inside what is left. This is the boundary of pinchable fat, not the boundary of the fullness the patient sees. They are frequently not the same shape, and the difference is what you explain in consultation.
4. Apply the grid inside the outline. Never let a grid define a boundary. The anatomy defines the boundary; the grid fills it.
5. Count the squares. This is your dose. Number of squares over confirmed fat × 0.2 mL, capped at 50 injections and 10 mL per session. Now you know how many vials to open, and you know it before you open any.
6. Palpate again, after marking. This is Maritza's rule and it is the one most often skipped. Once the marks are on, run your fingers over the field again and confirm you are still over fat at each region of the grid. Marks migrate. Necks move between positions. A grid applied in one head position does not sit identically in another.
7. Inject. Patient tenses the platysma; pinch the fat; 30-gauge needle perpendicular to the skin into the mid-depth of the pre-platysmal subcutaneous layer; 0.2 mL per site.
Why the area shrinks between sessions — and the dose with it
Here is the practical consequence that catches out injectors who do memorise a number.
Adipocytolysis destroys fat cells. By Day 28 the histology shows septal thickening, neovascularisation and atrophy of fat lobules. The compartment is genuinely smaller at session two than it was at session one, and smaller again at session three.
So the treatable area shrinks, and because the dose is derived from the area, the dose must shrink with it. An injector who gave 6 mL at session one and gives 6 mL at session three is no longer delivering 2 mg/cm² into fat; they are distributing a fixed volume across a compartment that has shrunk, which means either a locally excessive density or injections landing where fat no longer is. Too-superficial placement is precisely what the label associates with skin ulceration and necrosis.
The label's requirement to palpate before each treatment session exists for this reason. It is not a courtesy check. It is the input to the calculation.
This also explains an observation patients report and clinicians sometimes misread as tolerance: later sessions hurt and swell less. Less remaining target tissue permits lower volumes; prior numbness persists; and thickened fibrous septae make for a more robust tissue bed. Less drug into less fat produces less inflammation. That is the dosing model working correctly, not the drug losing potency.
The generalisable lesson
Every injectable field has a version of this. The neurotoxin world has face charts; the filler world has millilitre conventions per region. They are useful as orientation and dangerous as instruction, for the same reason a submental volume chart would be: a chart encodes an average patient, and you never treat the average patient. A chart of neurotoxin units is a starting distribution to be modified by the muscle you actually assessed — the same relationship a Botox face chart has to a real forehead.
What generalises is the habit: derive the dose from the assessment, then use the reference to check yourself, never the reverse. An injector who can explain why they gave 4.6 mL to this patient and 8.2 mL to the next one — in square centimetres, exclusions and palpation findings — is practising at a different level from one who can recite a number.
These figures reflect Maritza Mejia's clinical practice as taught in Empire Medical Training's hands-on curriculum, together with the current FDA prescribing information and the published literature cited above. Technique is learned under supervision; this article is educational and is not a substitute for training.
Injectors who want to practise mapping, grid application, palpation confirmation and injection on live patients under faculty supervision can find that in Empire's Kybella and Mesotherapy Training. If the limiting factor is regional anatomy rather than technique, Anatomical Based Aesthetics Training is the better place to start, and the Neck & Hands Rejuvenation Master Course covers the region as a whole.
Related guides in this cluster
Part of Submental and Lower Face Contouring.
 Clinical GuideHow Deoxycholic Acid Works: Adipocytolysis, Inflammatory Clearance, and Why Swelling Is the TreatmentHow deoxycholic acid causes adipocytolysis, why the inflammatory swelling that follows is the clearance mechanism, and what that change
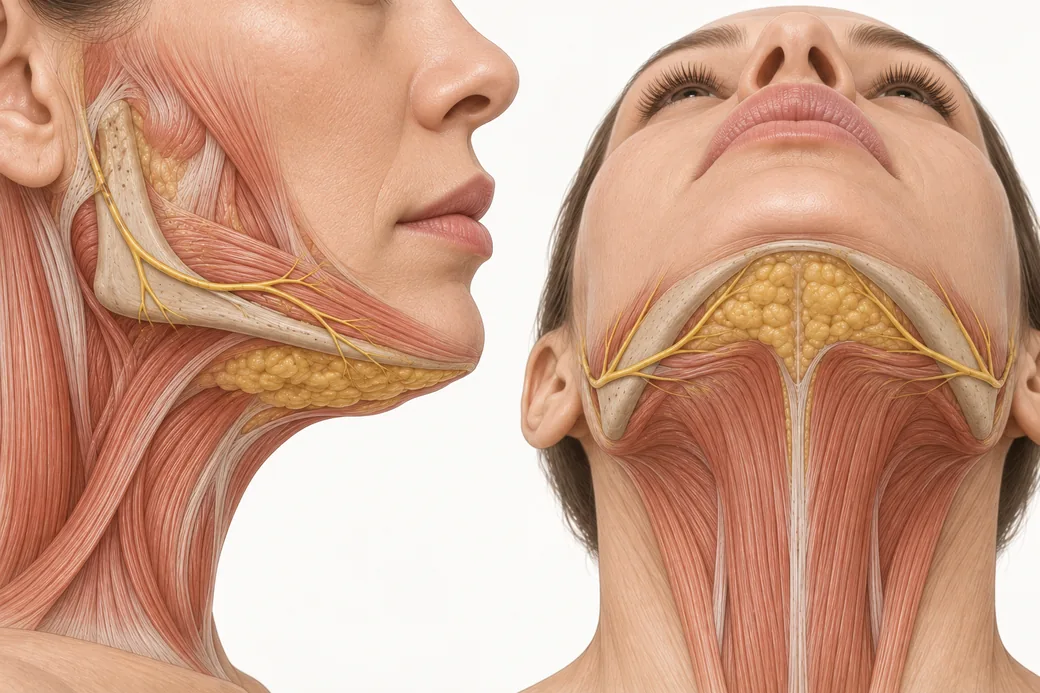 Clinical GuideThe Submental Pinch Test: Distinguishing Fat from Skin Laxity Before You Open a VialThe submental pinch test separates treatable fat from skin laxity. Maritza Mejia's thumb-and-index technique, thickness bands, and the
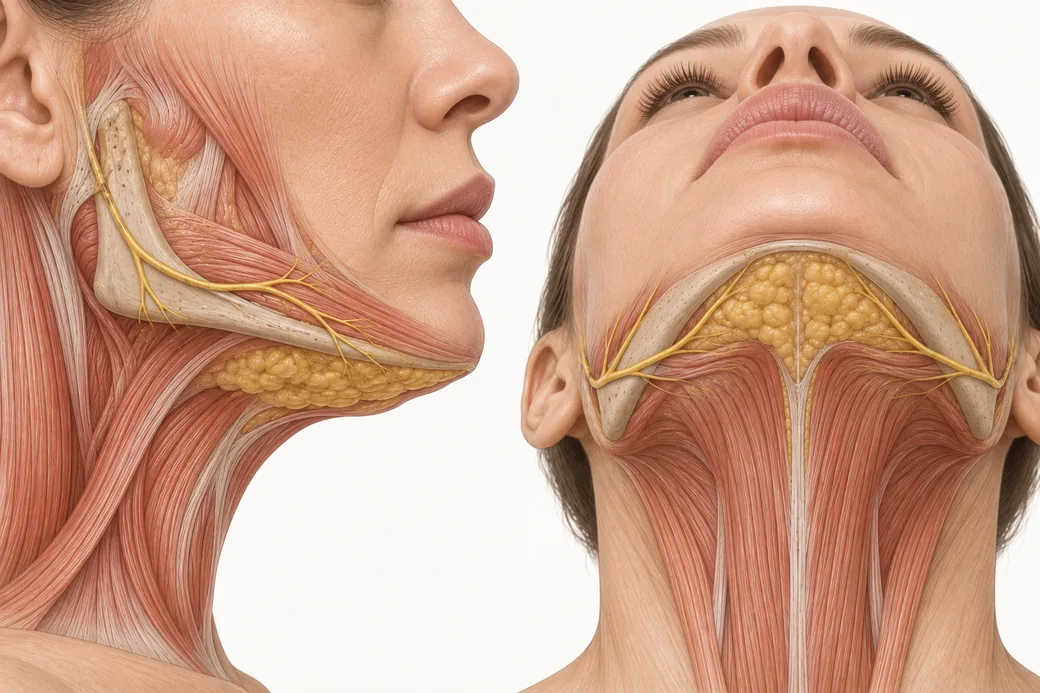 Clinical GuideSubmental Anatomy for Deoxycholic Acid: Compartments, the Submandibular Extension and the Marginal Mandibular NerveThe safety anatomy of the neck for injectors — preplatysmal versus subplatysmal fat, the submandibular extension, and where the margina
Train with Empire
This guide is clinical education. The technique behind it is taught hands-on, on live patients, with faculty beside you.
Explore Complete Dermal Filler Training →Disclaimer
This article reflects the clinical opinions and experience of Maritza Mejia, FNP, an independent faculty member contributing to Empire Medical Training's curriculum. The views expressed are the author's own and do not necessarily represent those of Empire Medical Training.
It is professional education, not medical advice, and is no substitute for hands-on training or independent clinical judgment. Licensed clinicians remain responsible for their own patient selection, technique and outcomes, for verifying current product labelling, and for practising within their scope and applicable law. Empire Medical Training accepts no liability for reliance on this content.
 Claim Your Prize!